Master-Detail Tables: Transaction Processing for Orders and Order Items
Previous sections covered single-table operations. However, real business scenarios often require operating on multiple tables simultaneously -- for example, when submitting an order, you need to create both the main order record and multiple order detail records, ensuring either all succeed or all rollback.
This section uses order submission as an example to demonstrate how to implement transactional submission for master-detail forms using Backend Function standalone endpoints.
- What is a Backend Function standalone endpoint
- How to use transactions to ensure data consistency
- Master-detail form data submission patterns
- How to call Backend Functions from the frontend
Requirements
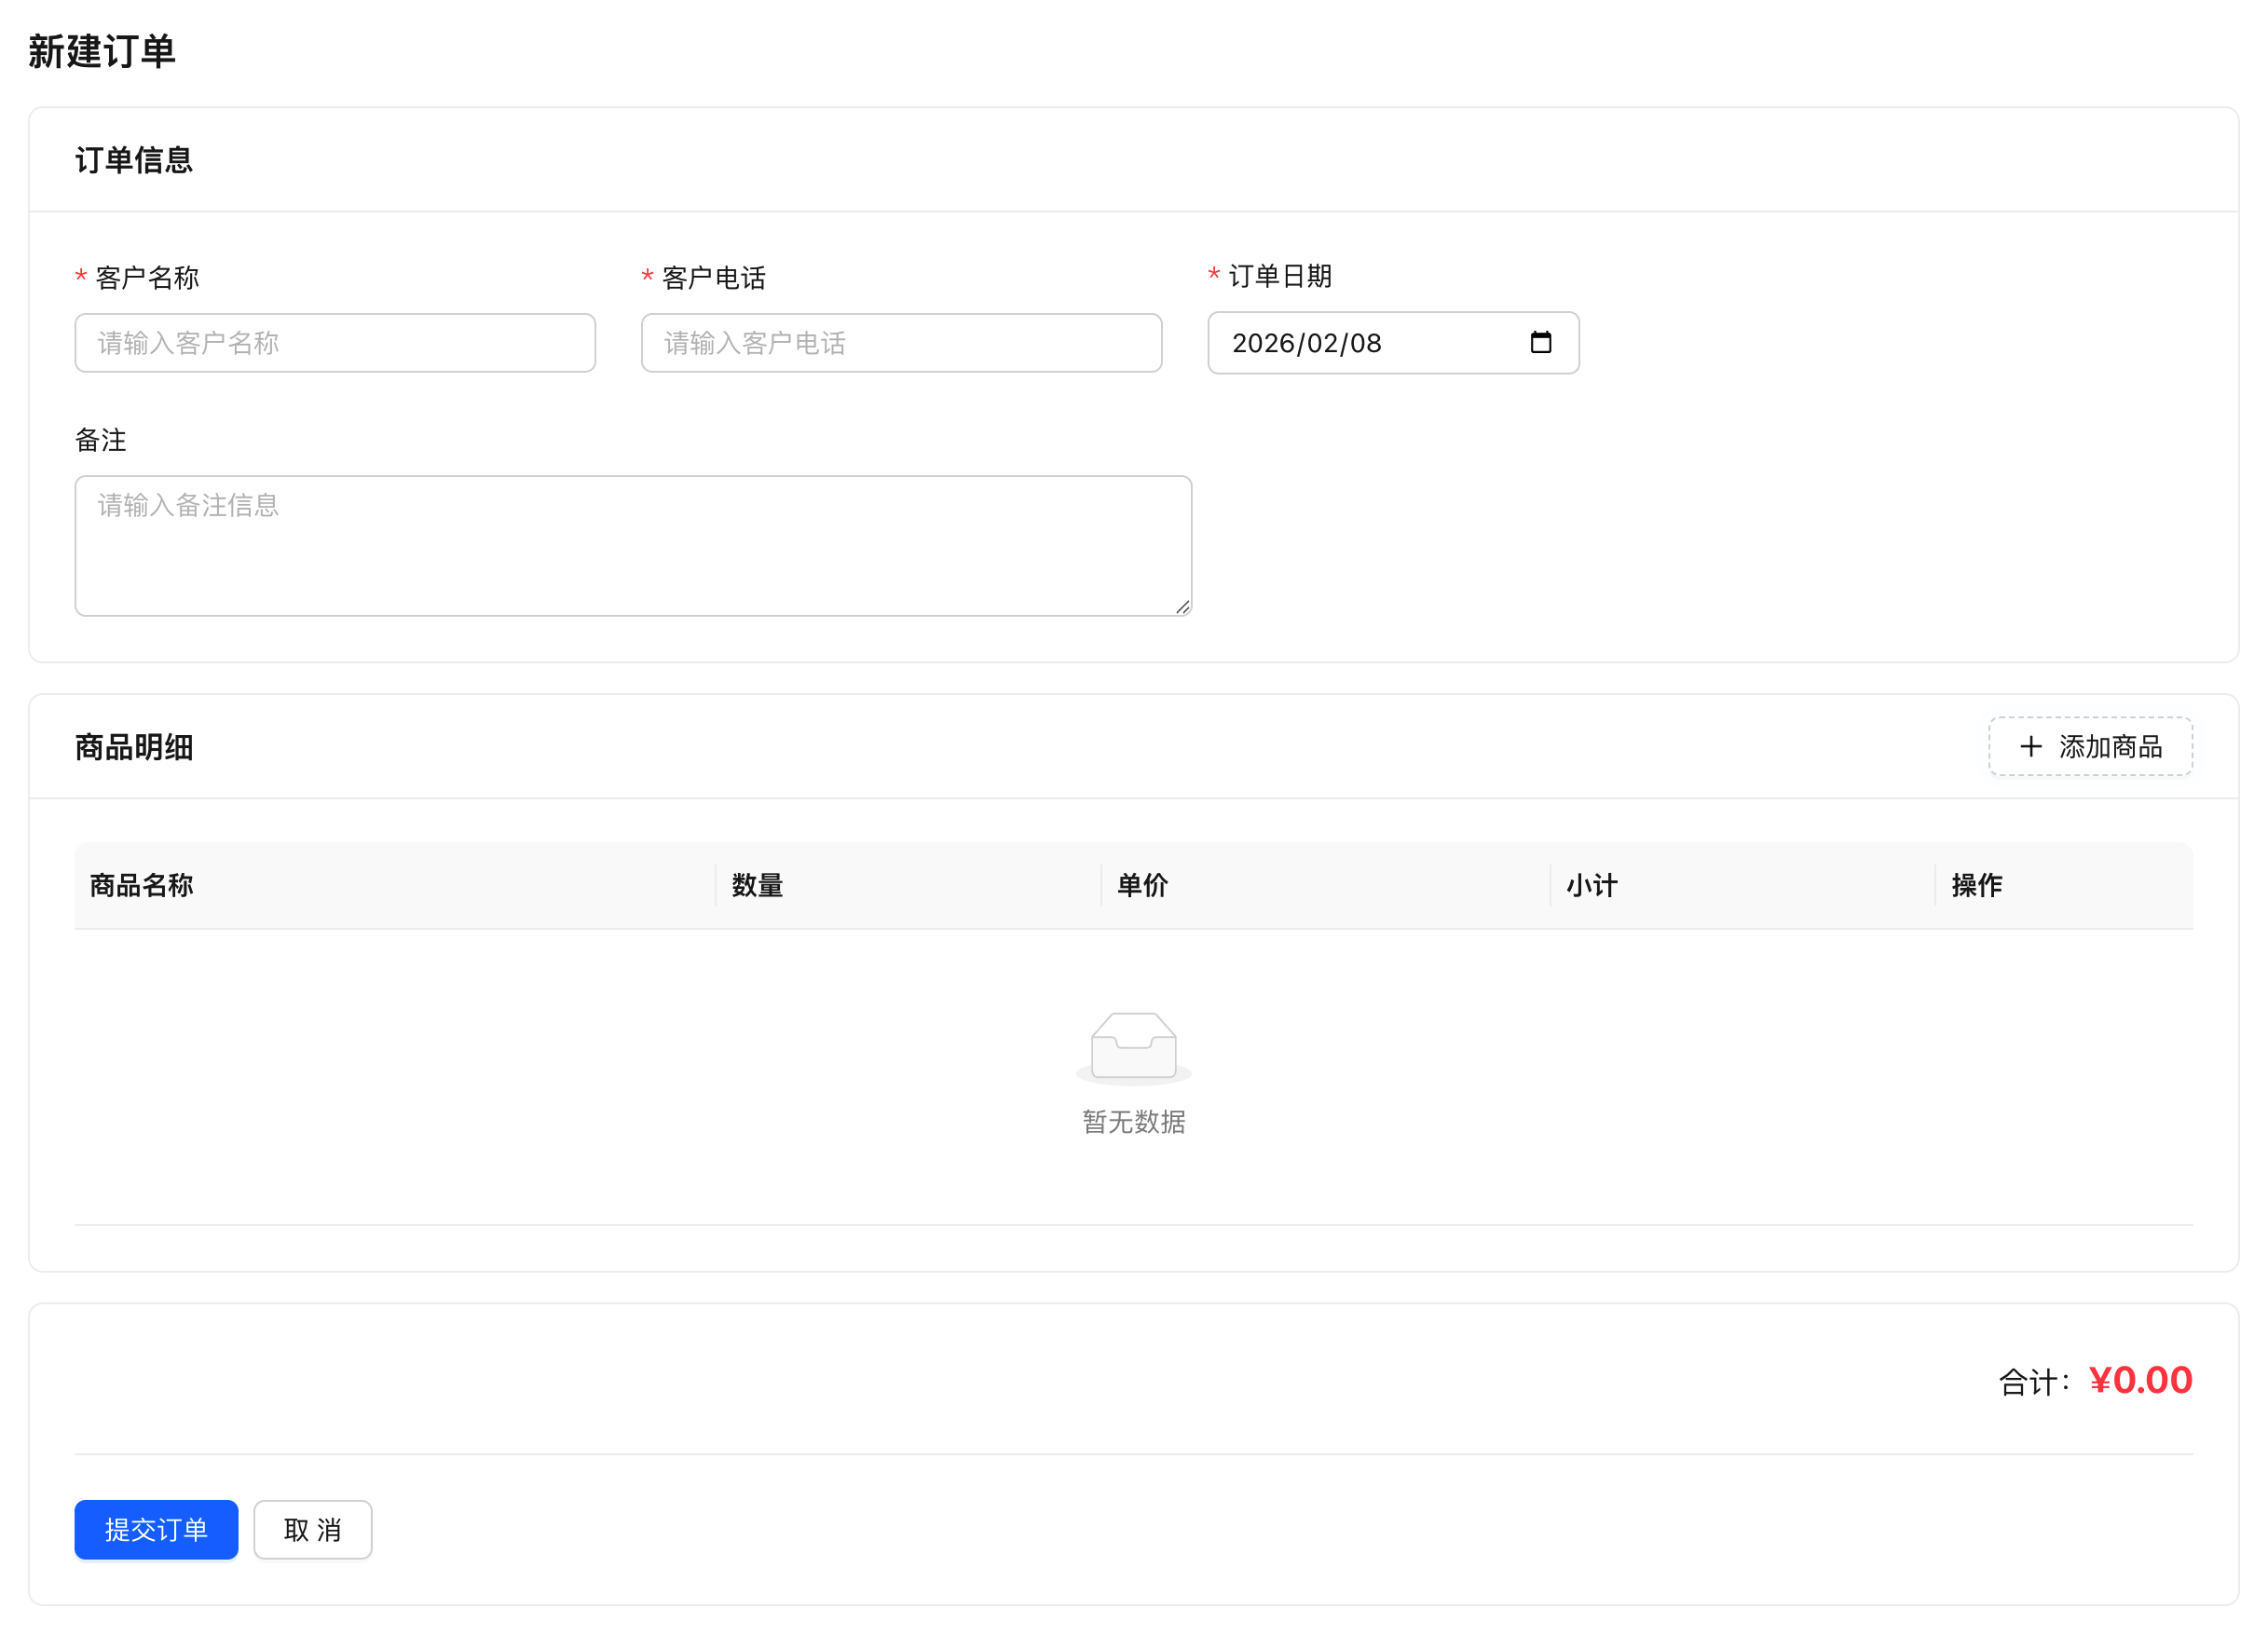
Implement an order submission page containing a master table (customer information, order date, remarks) and a detail table (multiple products with quantities and unit prices). Submit all data at once, ensure data consistency, and return the order ID upon success.
Final Result:
Why Do You Need Backend Functions?
Standard create APIs can only operate on a single table, which cannot meet these requirements:
- Cross-table operations - Need to write to both master and detail tables
- Transaction guarantees - Either all succeed or all rollback
- Business logic - Complex logic like calculating amounts, validating inventory
Backend Function Standalone Endpoints can:
- Complete multi-table operations on the backend in one go
- Use transactions to ensure data consistency
- Return custom response formats
AI-Assisted Development (Recommended)
Without rabetbase, submitting an order means building a backend service. Backend developers pick a framework (Laravel? Spring Boot? Express?), connect to the database, and write transaction logic: BEGIN -> INSERT master table -> SELECT LAST_INSERT_ID() -> batch INSERT detail table -> COMMIT -> ROLLBACK. The transaction logic alone takes a day. Deploying the service takes another day: purchase a server, set up the environment, configure nginx reverse proxy, add SSL. The frontend caller also has to handle CORS and token forwarding. During integration: the frontend sends JSON but the backend cannot read it (wrong content-type), the detail array parsing fails (wrong format), the transaction times out and rolls back but the frontend never receives the error. A single "submit order" button takes two weeks from backend to production.
With rabetbase: no backend service to build, no server to deploy. The BaaS reverse engine has already analyzed the master-detail relationship, and the BFF runtime natively supports transactions. The CLI's bff new --type ENDPOINT creates a scaffold (transaction API ready), and Skills guide AI to implement the correct transaction pattern. bff push deploys to the platform and takes effect immediately. No server to buy, no nginx to configure, no integration debugging. Done in 1 hour.
All You Need to Tell AI
In Claude Code, enter:
Use rabetbase CLI to help me create a Backend Function (ENDPOINT type) for order submission with transaction support that creates both the order master table and detail table simultaneously. Customer information includes customer name, phone, order date, and remarks. Details include product name, quantity, and unit price. Calculate the total amount and return the order ID and total amount.
What AI Will Do
AI will use rabetbase CLI to automatically complete the following:
- Query the order and order detail dataset structures (
rabetbase dataset detail) - Create a BFF standalone endpoint scaffold (
rabetbase bff new --type ENDPOINT) - Write complete transaction processing logic (parameter validation, amount calculation, master-detail table creation)
- Push to the platform to take effect (
rabetbase bff push)
Once complete, the frontend can call it via bff.execute(). Below is the complete code generated by AI.
Manual Operation (Alternative)
Method 1: Manual CLI
# 1. Create endpoint scaffold
rabetbase bff new --type ENDPOINT --name submitOrder

# 2. Open the generated file in editor
code .rabetbase/bff/<appCode>/ENDPOINT/submitOrder.js

# 3. Push
rabetbase bff push --yes --type ENDPOINT --name submitOrder
Method 2: Platform UI
- Open the Backend Function management page:
https://app.lovrabet.com/app/{appCode}/data/backend-function - Click "New" to create a standalone endpoint
- Paste the code and save
Step 1: Complete Code Reference
Whether using AI or manual operation, the Backend Function code created is as follows:
Function Name: submitOrder
/**
 * Submit Order - Backend Function Standalone Endpoint
 * Creates order master table and detail table, uses transaction to ensure data consistency
 *
 * [API Path] POST /api/{appCode}/endpoint/submitOrder
 *
 * [Platform Configuration] https://app.lovrabet.com/app/{appCode}/data/backend-function
 * Note: appCode is the application code. After creation, this standalone endpoint can be configured on the platform
 *
 * [HTTP Request Body Parameters]
 * {
 *   "customerName": "Customer Name",
 *   "customerPhone": "Customer Phone",
 *   "orderDate": "Order Date",
 *   "remark": "Remarks",
 *   "items": [
 *     { "productName": "Product A", "quantity": 2, "price": 100 }
 *   ]
 * }
 *
 * [Return Data Structure]
 * ENDPOINT: Returns business data object
 * {
 *   "success": true,
 *   "orderId": "Order ID",
 *   "totalAmount": "Order Total Amount",
 *   "message": "Order created successfully"
 * }
 *
 * @param {Object} params - Request parameters
 * @param {string} params.customerName - Customer name
 * @param {string} params.customerPhone - Customer phone
 * @param {string} params.orderDate - Order date
 * @param {string} params.remark - Remarks
 * @param {Array} params.items - Order details
 * @param {Object} context - Execution context (automatically injected by platform, no need to pass when calling)
 * @param {Object} context.userInfo - Current user information
 * @param {Object} context.client - Database operation entry point
 * @returns {Object} Returns submission result
 */
export default async function submitOrder(params, context) {
  const { customerName, customerPhone, orderDate, remark, items } = params;

  // Dataset code mapping table
  const TABLES = {
    orders: "dataset_XXXXXXXXXX", // Dataset: Order | Table: orders (replace with actual 32-character code)
    orderItems: "dataset_YYYYYYYYYY", // Dataset: Order Details | Table: order_items
  };
  const models = context.client.models;

  // 1. Parameter validation
  if (!items || items.length === 0) {
    throw new Error("Order details cannot be empty");
  }

  // 2. Calculate order amount
  let totalAmount = 0;
  items.forEach((item) => {
    const subtotal = item.quantity * item.price;
    totalAmount += subtotal;
  });

  // 3. Create order using transaction (master table + detail table)
  const result = await context.client.db.transaction(async (tx) => {
    // Create main order (use context.client.models instead of tx.models)
    const orderId = await models[TABLES.orders].create({
      customerName,
      customerPhone,
      orderDate,
      remark,
      totalAmount,
      status: "pending",
    });

    // Create order details
    for (const item of items) {
      await models[TABLES.orderItems].create({
        orderId,
        productName: item.productName,
        quantity: item.quantity,
        price: item.price,
        subtotal: item.quantity * item.price,
      });
    }

    return { orderId, totalAmount };
  });

  return {
    success: true,
    orderId: result.orderId,
    totalAmount: result.totalAmount,
    message: "Order created successfully",
  };
}
After writing the code, push it to the platform to take effect. If using AI-assisted development, this step is already done automatically.
Manual push:
# Check status
rabetbase bff status --format json

# Preview and push
rabetbase bff push --dry-run --type ENDPOINT --name submitOrder --format json
rabetbase bff push --yes --type ENDPOINT --name submitOrder
Key Points:
context.client.db.transaction()starts a transaction- Use
models[TABLES.xxx]instead oftx.models[TABLES.xxx]within the transaction - Any exception in the transaction will trigger a rollback
- Returns a custom result format
Step 2: Create the Frontend Form Component
// src/pages/order-form.tsx

/**
 * Title: Create Order
 */
import { useState } from "react";
import { useNavigate } from "react-router-dom";
import { lovrabetClient } from "../api/client";

interface OrderItem {
  productName: string;
  quantity: number;
  price: number;
}

interface OrderForm {
  customerName: string;
  customerPhone: string;
  orderDate: string;
  remark: string;
  items: OrderItem[];
}

export default function OrderForm() {
  const navigate = useNavigate();
  const [form, setForm] = useState<OrderForm>({
    customerName: "",
    customerPhone: "",
    orderDate: new Date().toISOString().split("T")[0],
    remark: "",
    items: [{ productName: "", quantity: 1, price: 0 }],
  });
  const [submitting, setSubmitting] = useState(false);

  // Add item
  const addItem = () => {
    setForm({
      ...form,
      items: [...form.items, { productName: "", quantity: 1, price: 0 }],
    });
  };

  // Remove item
  const removeItem = (index: number) => {
    if (form.items.length <= 1) {
      alert("At least one product detail is required");
      return;
    }
    setForm({
      ...form,
      items: form.items.filter((_, i) => i !== index),
    });
  };

  // Update item
  const updateItem = (
    index: number,
    field: keyof OrderItem,
    value: string | number
  ) => {
    const newItems = [...form.items];
    newItems[index] = { ...newItems[index], [field]: value };
    setForm({ ...form, items: newItems });
  };

  // Calculate total
  const totalAmount = form.items.reduce(
    (sum, item) => sum + item.quantity * item.price,
    0
  );

  // Form validation
  const validate = (): boolean => {
    if (!form.customerName.trim()) {
      alert("Please enter customer name");
      return false;
    }
    if (!form.customerPhone.trim()) {
      alert("Please enter customer phone");
      return false;
    }
    if (!form.orderDate) {
      alert("Please select order date");
      return false;
    }

    for (let i = 0; i < form.items.length; i++) {
      const item = form.items[i];
      if (!item.productName.trim()) {
        alert(`Please enter product name for row ${i + 1}`);
        return false;
      }
      if (item.quantity <= 0) {
        alert(`Product quantity for row ${i + 1} must be greater than 0`);
        return false;
      }
      if (item.price <= 0) {
        alert(`Product unit price for row ${i + 1} must be greater than 0`);
        return false;
      }
    }

    return true;
  };

  // Submit order
  const handleSubmit = async (e: React.FormEvent) => {
    e.preventDefault();

    if (!validate()) {
      return;
    }

    setSubmitting(true);
    try {
      // Call Backend Function
      const result = await lovrabetClient.bff.execute({
        scriptName: "submitOrder",
        params: form,
      });

      alert(`Order created successfully! Order ID: ${result.orderId}`);
      navigate("/orders");
    } catch (error) {
      console.error("Failed to create order:", error);
      alert("Failed to create order, please try again");
    } finally {
      setSubmitting(false);
    }
  };

  return (
    <div className="order-form">
      <div className="header">
        <h1>Create Order</h1>
      </div>

      <form onSubmit={handleSubmit}>
        {/* Master table information */}
        <div className="section">
          <h3>Order Information</h3>

          <div className="form-group">
            <label>
              Customer Name <span className="required">*</span>
            </label>
            <input
              type="text"
              value={form.customerName}
              onChange={(e) =>
                setForm({ ...form, customerName: e.target.value })
              }
              disabled={submitting}
            />
          </div>

          <div className="form-group">
            <label>
              Customer Phone <span className="required">*</span>
            </label>
            <input
              type="text"
              value={form.customerPhone}
              onChange={(e) =>
                setForm({ ...form, customerPhone: e.target.value })
              }
              disabled={submitting}
            />
          </div>

          <div className="form-group">
            <label>
              Order Date <span className="required">*</span>
            </label>
            <input
              type="date"
              value={form.orderDate}
              onChange={(e) => setForm({ ...form, orderDate: e.target.value })}
              disabled={submitting}
            />
          </div>

          <div className="form-group">
            <label>Remarks</label>
            <textarea
              value={form.remark}
              onChange={(e) => setForm({ ...form, remark: e.target.value })}
              rows={3}
              disabled={submitting}
            />
          </div>
        </div>

        {/* Detail table */}
        <div className="section">
          <h3>Product Details</h3>

          <table className="items-table">
            <thead>
              <tr>
                <th>Product Name</th>
                <th>Quantity</th>
                <th>Unit Price</th>
                <th>Subtotal</th>
                <th>Action</th>
              </tr>
            </thead>
            <tbody>
              {form.items.map((item, index) => (
                <tr key={index}>
                  <td>
                    <input
                      type="text"
                      value={item.productName}
                      onChange={(e) =>
                        updateItem(index, "productName", e.target.value)
                      }
                      disabled={submitting}
                    />
                  </td>
                  <td>
                    <input
                      type="number"
                      value={item.quantity}
                      onChange={(e) =>
                        updateItem(index, "quantity", Number(e.target.value))
                      }
                      min="1"
                      disabled={submitting}
                    />
                  </td>
                  <td>
                    <input
                      type="number"
                      value={item.price}
                      onChange={(e) =>
                        updateItem(index, "price", Number(e.target.value))
                      }
                      min="0"
                      step="0.01"
                      disabled={submitting}
                    />
                  </td>
                  <td>¥{(item.quantity * item.price).toFixed(2)}</td>
                  <td>
                    <button
                      type="button"
                      onClick={() => removeItem(index)}
                      disabled={submitting || form.items.length === 1}
                    >
                      Delete
                    </button>
                  </td>
                </tr>
              ))}
            </tbody>
          </table>

          <button type="button" onClick={addItem} disabled={submitting}>
            + Add Product
          </button>
        </div>

        {/* Total */}
        <div className="summary">
          <strong>Total: ¥{totalAmount.toFixed(2)}</strong>
        </div>

        {/* Action buttons */}
        <div className="actions">
          <button
            type="button"
            onClick={() => navigate("/orders")}
            disabled={submitting}
          >
            Cancel
          </button>
          <button type="submit" disabled={submitting}>
            {submitting ? "Submitting..." : "Submit Order"}
          </button>
        </div>
      </form>
    </div>
  );
}
Key Concepts Summary
BFF Execute API
Call Backend Function standalone endpoints:
// Basic usage
const result = await lovrabetClient.bff.execute({
  scriptName: "submitOrder",
  params: {
    /* parameters */
  },
});

// With type hints
interface OrderResult {
  success: boolean;
  orderId: string;
  totalAmount: number;
  message: string;
}

const result = await lovrabetClient.bff.execute<OrderResult>({
  scriptName: "submitOrder",
  params: form,
});

console.log(result.orderId);
| Parameter | Type | Required | Description |
|---|---|---|---|
scriptName | string | Yes | Backend function name (must match platform config) |
params | Record<string, any> | No | Function parameters |
Return Value: Directly returns business data (already extracted from data field).
Backend Function Transaction Syntax
// Start transaction
await context.client.db.transaction(async (tx) => {
  const models = context.client.models;

  // Execute database operations here
  // Auto-commits on normal completion, auto-rollbacks on exception

  // Use models[TABLES.xxx] for dataset operations
  await models[TABLES.orders].create({
    /* data */
  });

  // Use tx.sql.execute() to execute custom SQL
  await tx.sql.execute({
    sqlCode: "yourSqlCode",
    params: {
      /* parameters */
    },
  });

  // If an exception is thrown here, all operations will rollback
  if (someError) {
    throw new Error("Operation failed");
  }
});
Important Rules:
- Must use
await- Transactions are asynchronous - Use
models[TABLES.xxx]for dataset operations - Usecontext.client.modelsinstead oftx.models - Use
tx.sql.execute()for SQL operations - Execute SQL within transactions - Auto-rollback on exception - Throwing an exception rolls back all operations
- Don't perform time-consuming operations in transactions - Such as calling external APIs
Best Practices
Parameter Validation
export default async function myFunction(params, context) {
  // Validate required parameters
  if (!params.name) {
    throw new Error("name parameter cannot be empty");
  }

  // Validate parameter types
  if (typeof params.quantity !== "number") {
    throw new Error("quantity must be a number");
  }

  // Validate business rules
  if (params.quantity <= 0) {
    throw new Error("quantity must be greater than 0");
  }

  // Business logic...
}
Return Standard Format
export default async function myFunction(params, context) {
  try {
    // Business logic...
    const result = doSomething();

    return {
      success: true,
      data: result,
      message: "Operation successful",
    };
  } catch (error) {
    return {
      success: false,
      message: error.message,
    };
  }
}
Error Handling in Transactions
/**
 * Submit Order - With Complete Error Handling
 *
 * [API Path] POST /api/{appCode}/endpoint/submitOrder
 *
 * [Platform Configuration] https://app.lovrabet.com/app/{appCode}/data/backend-function
 */
export default async function submitOrder(params, context) {
  const TABLES = {
    orders: "dataset_XXXXXXXXXX", // Dataset: Order | Table: orders
    orderItems: "dataset_YYYYYYYYYY", // Dataset: Order Details | Table: order_items
  };
  const models = context.client.models;

  try {
    const result = await context.client.db.transaction(async (tx) => {
      // 1. Create master table
      const orderId = await models[TABLES.orders].create(params.order);

      // 2. Validate details
      if (!params.items || params.items.length === 0) {
        throw new Error("Order details cannot be empty");
      }

      // 3. Create details
      for (const item of params.items) {
        await models[TABLES.orderItems].create({
          orderId: orderId,
          ...item,
        });
      }

      return { orderId };
    });

    return { success: true, orderId: result.orderId };
  } catch (error) {
    // Transaction already auto-rolled back
    return {
      success: false,
      message: error.message,
    };
  }
}
FAQ
Q: BFF call returns 404?
A: Check the following:
- Is
scriptNameexactly the same as the function name configured on the platform - Has the function been published
- Does the appCode have permission to access this function
Q: Transaction failed but data was still written?
A: Check if you're using tx correctly:
// Wrong: Used tx.models, should use context.client.models
await context.client.db.transaction(async (tx) => {
  await tx.models.dataset_xxx.create(); // Wrong!
});

// Correct: Use context.client.models and TABLES constant
const TABLES = {
  orders: "dataset_XXXXXXXXXX",
};
const models = context.client.models;

await context.client.db.transaction(async (tx) => {
  await models[TABLES.orders].create({
    /* data */
  }); // Correct
});
Q: How to call custom SQL in a transaction?
A: Use tx.sql.execute():
const TABLES = {
  orders: "dataset_XXXXXXXXXX", // Dataset: Order | Table: orders
};
const models = context.client.models;

await context.client.db.transaction(async (tx) => {
  // Call custom SQL
  await tx.sql.execute({
    sqlCode: "update-stock",
    params: { productId: "xxx", quantity: 1 },
  });

  // Use dataset API
  await models[TABLES.orders].create({
    /* ... */
  });
});
Q: What if the transaction times out?
A: Transaction execution time should be kept within a few seconds:
- Reduce the number of operations in loops
- Avoid calling external APIs in transactions
- Use batch APIs or background tasks for large data operations
Section Summary
Congratulations on mastering master-detail form transaction processing! Key takeaways:
| Concept | Description |
|---|---|
| Backend Function | Server-side functions for handling complex business logic |
| Standalone Endpoint | BFF interface that can be called directly from the frontend |
| Transaction | Ensures atomicity of multi-table operations |
bff.execute() | Frontend method to call Backend Functions |
- Use transactions when dealing with multi-table operations
- Use
models[TABLES.xxx]instead oftx.modelsin transactions - Implement proper parameter validation and error handling
- Return user-friendly error messages
Next Steps
- Multi-table Join Query -- Learn how to join multiple tables in queries
Related Reading
Core Documentation
- BFF API Reference -- Complete Backend Function usage guide
- API Usage Guide -- Complete CRUD operations documentation
- Error Handling -- Transaction error handling and rollback
Advanced Topics
- Data Validation: Pre-validation Hook -- Backend data validation and access control
- Data Masking: Post-validation Hook -- Backend unified data format processing
- Backend Function SQL Calls -- BF calling custom SQL
Difficulty Level: L2 | Estimated Time: 45 minutes